
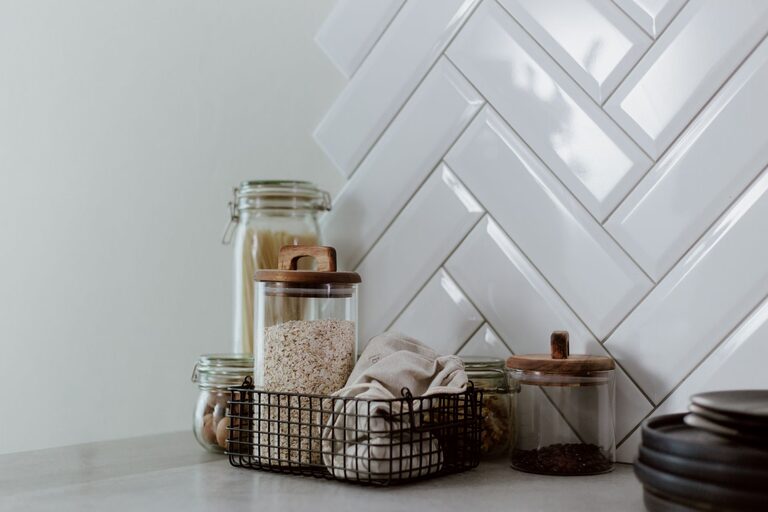
Keeping kitchen counters clutter-free is a common challenge in many homes. The kitchen is often the heart of the house, where cooking, socialising, and daily tasks happen. However, a cluttered countertop can make the space feel cramped and stressful. Fortunately, with some practical strategies and organisation tips, you can maintain a tidy and functional kitchen surface. Here’s a detailed guide on how to make your kitchen counters clutter-free.
Why Keep Kitchen Counters Clutter-Free?
Cluttered countertops affect not only the appearance of your kitchen but also its usability. When surfaces are crowded with appliances, utensils, and random items, it becomes harder to work efficiently and keep the area clean. A clear counter allows for more prep space, makes cleaning easier, and contributes to a calm atmosphere.
Step 1: Clear and Assess
Begin by removing everything from your kitchen counters. Clearing the space allows you to see what you really have and decide what’s necessary to keep there. Sort items into categories:
– Daily essentials (items you use every day)
– Occasional-use items
– Items that belong elsewhere
– Things to discard or donate
This initial step is crucial for understanding what really needs to stay on your counters.
Step 2: Create Dedicated Zones
Organising your kitchen by zones helps keep counters tidy and ensures that items are easy to find. Consider setting up specific areas for:
– Cooking tools and utensils near the stove
– Coffee and tea supplies in one corner
– Food preparation zone with chopping boards and knives
– Cleaning supplies near the sink
By clustering related items, you reduce the temptation to leave things scattered around.
Step 3: Use Smart Storage Solutions
Storage is key when it comes to maintaining clutter-free counters. Here are some options to consider:
Utilise Drawers and Cabinets Fully
Make the most of drawer organisers, pull-out shelves, and cabinet dividers. Store utensils, pots, and pans neatly inside, rather than on counters.
Introduce Vertical Storage
Wall-mounted shelves, magnetic strips for knives, and hanging racks are excellent for freeing up counter space while keeping essentials accessible.
Invest in Multi-Functional Items
Choose appliances and tools that serve multiple purposes to reduce the number of gadgets you need. For example, a blender with food processor attachments can replace separate appliances.
Use Attractive Containers
Store items like spices, oils, or frequently used ingredients in uniform jars or bottles. This not only looks tidy but also prevents clutter from mismatched packaging.
Step 4: Limit Countertop Appliances
Kitchen gadgets often take up significant space. Keep only those you use daily on the counter. Store others inside cupboards or drawers. If an appliance is bulky and rarely used, consider donating or selling it.
Step 5: Adopt Daily Habits
Keeping counters clutter-free requires ongoing effort. Here are some daily habits to adopt:
– Clear counters after cooking and eating
– Put away items immediately after use
– Wipe down surfaces regularly
– Avoid storing mail, keys, or unrelated items on counters
Consistency goes a long way in maintaining a clean kitchen.
Step 6: Keep Decorative Items Minimal
While a few decorative touches can make your kitchen inviting, too many can add to the clutter. Choose one or two meaningful pieces, such as a small plant or bowl of fruit, rather than multiple knick-knacks.
Step 7: Periodic Decluttering
Every few months, reassess your kitchen counters and storage. Remove items you no longer need or use. This prevents build-up and helps maintain a clutter-free environment.
Additional Tips
– Use trays or baskets to group smaller items together, preventing them from spreading out across the counter.
– Label containers and storage spots to make organisation easier for everyone in the household.
– Consider countertop materials that are easy to clean and maintain, encouraging regular upkeep.
—
A clutter-free kitchen counter can transform your cooking experience, making the space more enjoyable and efficient. By following these steps, you’ll create a kitchen that looks great and works well every day. Start small, stay consistent, and enjoy the benefits of a neat and organised kitchen.


